 |
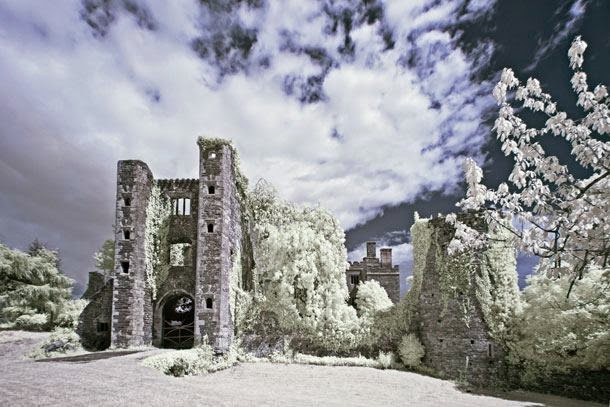
| Infrared Landscape |
Infrared photography can add a ghostly appearance to images shot on bright, sunny days. As a result it’s an effect that’s particularly suited to photos that feature Gothic architecture, castles, abandon buildings and ancient monuments. But it’s a technique that’s just at home with portraits and wildlife photography.
The majority of digital
camera sensors include an infrared blocking filter for standard photography,
and this needs to be removed in order to be able to take infrared pictures. Converting
a camera to infrared like this means that you won’t be able to use it for
regular full colour photography, so you’ll need to adapt a spare camera.
Not all of us happen to
have an old digital SLR knocking around or the spare cash to convert it into an
infrared camera. But there is an alternative: using an infrared filter. This
screws onto the front of the lens and blocks all light bar infrared.
IR filters are very dark
though, which means long exposure times – they’re useless for taking infrared
photos of moving subjects.
You won’t be able to see
anything through the viewfinder either, so it’s best to compose and manually
focus before adding the filter. You’ll also need to spend a little time
converting the image later.
If you don’t want to buy
a filter, you can always learn how to add an infrared effect in
Photoshop (Soon will be available). You can try this
technique with any image, although if you take a photo with a fake infrared
look in mind you’re more likely to end up with a successful result.
No comments:
Post a Comment