Wednesday 30 September 2015

7 Daily Exercise for PHOTOGRAPHERS

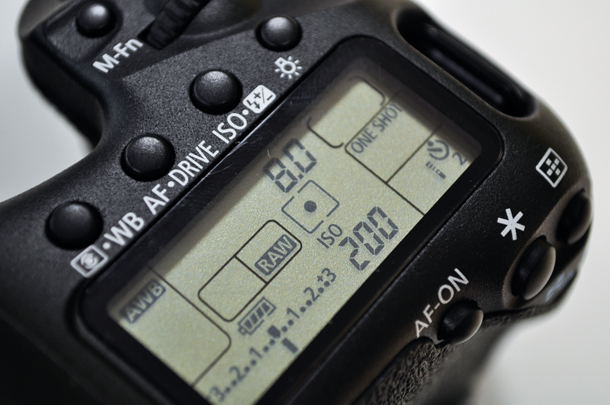
5. Set a custom white balance value

It’s easy to set the custom white balance value of a camera, you just set it to the correct mode (the manual will explain how to find this) and then photograph a white or neutral grey card in the same light as your subject. Well that’s the theory.
In practice it can be little trickier, because the angle at which you hold the card can have a huge impact upon the final result.
If the main light is coming from directly above your subject, for example, and you tip the card slightly downwards towards a coloured area under your subject you will find the result is very different to the one you get if you hold the card slightly tipped upwards.
Learn how to make a custom white balance setting with your camera and experiment by holding a white balance card at different angles to see for yourself and learn.

If you find you don’t like the neutral look of images that your camera produces in this mode, try the adjustment controls until you find a setting that works for you.
Custom White Balance

To Be Continued....

Tuesday 29 September 2015

7 Daily Exercise for PHOTOGRAPHERS

4. Set a specific white balance

Modern automatic white balance systems are extremely capable, but that’s not always a good thing because it can mean that you shoot with your mind in neutral (ha!) as far as colour goes.
This may be fine much of the time, but if the camera delivers a result that you don’t like, you may find yourself a little stuck for answers.
The answer is to climb free of the auto white balance safety-net and set a preset white balance value for the appropriate lighting conditions.

You may find that the Daylight or Sunny white balance setting produces the best results for the majority of the time, but it’s worth experimenting with the others to assess their impact in a range of conditions so that you know when to use them in the future.
Set The White Balance

To Be Continued....

Monday 28 September 2015

7 Daily Exercise for PHOTOGRAPHERS

3. Use a single prime lens

Using a prime, or fixed focal length, lens enables you to forget about the distraction of zooming in and out.
Instead you walk towards a subject, assess it through the viewfinder and then either shoot or move again to find a new or alternative vantage point.
It forces you to explore the subject more fully you’ll soon get a better understanding of the angle of view of the lens.

As well as letting you travel light, if you take just one lens with you on a shoot, or day out with your camera, you’ll really get to know that focal length and in the future you’ll be able to decide which lens to mount on your camera just by looking at the scene and framing an image in your mind.
Sigma Prime Lens

To Be Continued....

Sunday 27 September 2015

7 Daily Exercise for PHOTOGRAPHERS

2. Check the histogram

Just like the Levels display in image editing software packages such as Adobe Photoshop, a camera’s histogram display is a graph that represents the brightness of the pixels that make up an image.
The scale runs from black, with a brightness reading of 0, on the left to white, with a brightness reading of 255, on the right.
The peaks in the histogram indicate the number of pixels with that brightness and a large peak means lots of pixels have that brightness.
This means that a very dark image will have peaks over to the left of the graph, while a bright one has peaks on the right.
Meanwhile, a correctly exposed ‘ideal’ scene has a histogram with a so-called ‘normal’ distribution with a peak in the middle and just a few very bright and very dark pixels.
Checking the histogram after every shot will increase your understanding of the brightness distribution of an image.
It will also enable you to determine whether an image is under- or over-exposed with the majority of pixels being grouped to the left or right of the graph respectively.
Check the HISTOGRAM


To Be Continued....

Saturday 26 September 2015

7 Daily Exercise for PHOTOGRAPHERS

for every Photographer to become perfectionist.

The saying ‘practice makes perfect’ is as valid for photography as any other activity, so in their latest guest blog post the photo management and irista experts at Photoventure put together a collection of exercises that will help you become a better photographer.

1. Spot meter

Modern metering systems have great general-purpose modes, often called Evaluative, Matrix or Multi-area, which do a great job of accessing a scene and setting good ‘average’ exposure settings in many situations.
However, they’re not 100% foolproof and very dark or very light scenes, or backlighting can trick them into over or under exposure.
They’re also not psychic and don’t know what you’re seeing in your head when you take a shot.
Switching to spot metering puts you in control of where the camera meters from and helps you develop a much better understanding of the tonal range in a scene.
A standard spot metering system allows you to meter from a very small part of the scene and it suggests exposure settings that will render your target a mid-tone.
Consequently, you need to take care with the positioning of this spot, study the scene carefully and decide which is the best area to take a reading from.
It’s often helpful to combine spot metering with AE Lock as this will fix the exposure settings (after metering) while you compose the image.
Spot-Meter


To Be  Continued.......