What is a long exposure and why is it an important technique for photographers?
If you’re new to photography you might understandably have a few questions about how to shoot a long exposure.
In our latest YPS guide we answer some of the most common questions asked by new photographers.
What is a long exposure?
When you start photography, the basic aim is to take a photograph that is exposed correctly while hand-holding your camera.
But as you develop your skills, you’ll discover that a whole range of creative outcomes are possible when you allow the camera’s exposure – the period of time the shutter is actually open so light reaches the sensor – to last for a period running into several seconds, minutes, even hours in some cases.
What is the drawback(Limitation) of a long exposure?
The most obvious drawback of a long exposure is being able to hold the camera steady enough and avoid any risk of camera shake ruining the shot by causing the things you want to remain solid and fixed within the scene to blur as well.
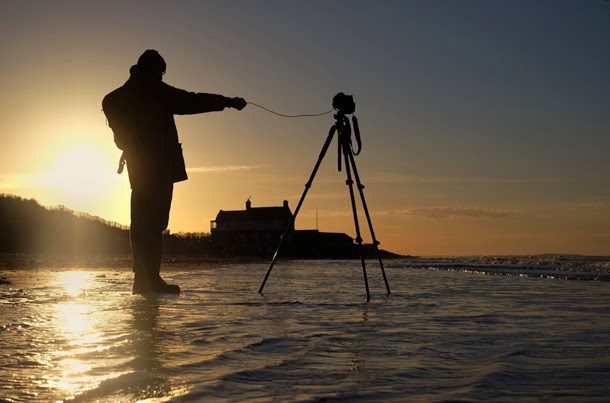
If your shutter speed is as slow as 1/30sec, there’s a real chance of camera shake; when the exposure lengthens to several seconds or more, camera shake is basically unavoidable if you are hand-holding. When it comes to shooting long exposures a sturdy tripod is definitely required.
When would I use a long exposure?
In low-light situations, such as shooting a sunrise or sunset, you may have little choice other than to choose a long exposure. While it’s possible to increase ISO to improve shutter speed, this isn’t always the best way.
Therefore, fixing the camera to your tripod and allowing it to expose for several seconds at a low ISO is unavoidable.
Long-exposure techniques have gained hugely in popularity over recent years, and many photographers now use light blocking filters so they can take long exposures even in bright conditions.
 |
| Dam Angore |
Why would you deliberately want to shoot a long exposure?
This is purely for the creative effect it has on the outcome of the image. When exposures run into seconds or minutes, any moving subjects that are in the shot will become blurred.
How much they blur will depend on the speed they are moving at and how long the exposure is. You’ll see that moving water will take on a milky appearance, clouds will streak across the sky, wind-blown foliage will become fuzzy or a crowd of people on the street will blur.
While many photographers love these effects, there are others who hate them! Personally, I think that injecting a sense of movement into the right image can often make it look more interesting, but you need to be aware that the effect can also be overdone.
The real key is to combine something solid and fixed within the composition with the moving element. This is why coastal scenes with mooring posts or rocks around which water can blur are very popular with photographers.